agent_peebody
* Ace Member *
Alright, for those of you who have questions about dyeing, I figured I would make another tutorial. This time I will start from the beginning.
Step 1:

Find an image that you want to dye onto the disc. Print it out and tape it to the back of your vinyl paper. (For this tutorial, I chose the "BAD MUTHER HUCKER" logo.) It helps to line up the image later on if you trace the outline of your disc and mark the middle point.
Now you will cut out the stencil with your X-acto knife. I use #11 blades because they're tiny and I got 100 for $15. Where ever the logo is black, is going to be black on the disc.
After you cut every line out, you need to use either transfer tape (I use blue painters tape cause it's not very sticky) or contact paper to help you remove the vinyl from its backing and to help transfer the vinyl to the disc without a bunch of air bubbles. Smooth out the vinyl once its on the disc, while the tape/contact paper is still on there. Then you peel away the tape/contact paper which will bring you to step two.
Step 2:

This is what your disc will look like after you remove the tape/contact paper and "weed" out everything that you want dyed. Use the excess vinyl around the edges to make handles. It will help you lower the disc into your pot full of dye. Otherwise, you have to pinch outward against the rim and it can slip very easily...so save a lot of effort and make some little handles.
Next, smooth out every air bubble that is under your vinyl and near a cut. If there's an air bubble that's isloated on the edge, with no cut-edges near it, it's not going to cause bleeding. It's the bubbles next to the cut-edges that will cause bleeding and make your disc look like poop in the end.
Step 3:

Fill your dye pot with just enough dye to float the disc. I put about an inch of dye in it. Make sure the dye is well mixed before you pour it in the pot. Wait for most, if not all, of the air bubbles in the dye pop before you lower the disc in. I heat the dye up to the point where I can touch the sides of the pan without pain. Or just until it starts to steam, then I let it cool down from there for about 5 minutes.
As far as, "How long do I leave it in the dye for?" goes, I check at 10 minutes, looking for bubbles that didn't dye or the saturation of the color being dyed. Usually, after the first 10 minutes, I'll check it, and go another 10 minutes. It helps get better coverage of dye and the evenness of the dye across the disc cause you're positioning it in the dye at least 2 times.
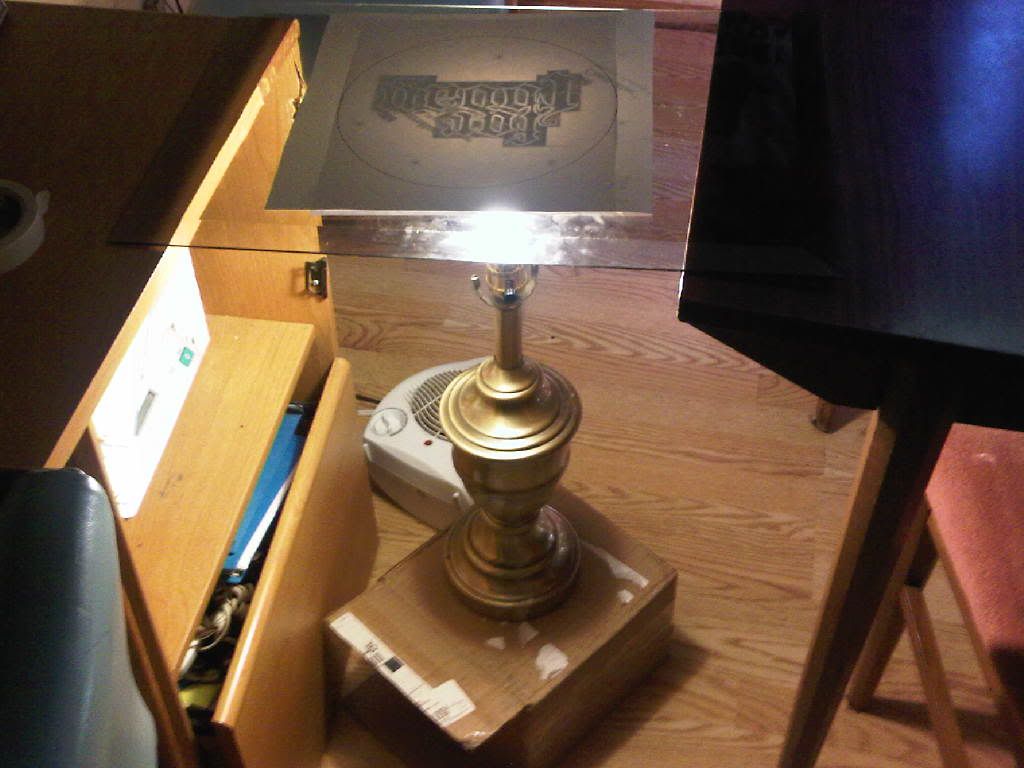
Here's a picture of the disc at 10 minutes:

I checked it by holding it up against the light, seeing how dark the black was. Then I put it back in the pot for about 10 more minutes.
Step 4:
When you take your disc out of the pot, it will be dripping dye for a while. So, I like to use the burner on the stove that is closest to the sink, and put a paper plate under the disc while I'm moving it to the sink to be rinsed and finish the peeling of the vinyl. Use hot water to help remove the vinyl that's stuck to the disc.
Assuming that you've done everything correctly, you will have no bleeds, crisp and clear lines, and a dark even color. Something like this:

Peeling all that vinyl off after the dyeing can take a while...especially if you had a big stamp on there cause the vinyl likes to stick to where the stamps where for some reason. I have callouses on my fingers from peeling vinyl, so that'll tell you how often it sticks there pretty good.
I hope this will help all of you guys out. If you have any questions, post them in this thread and i'm sure someone will help you out...if not me.
Step 1:
Find an image that you want to dye onto the disc. Print it out and tape it to the back of your vinyl paper. (For this tutorial, I chose the "BAD MUTHER HUCKER" logo.) It helps to line up the image later on if you trace the outline of your disc and mark the middle point.
Now you will cut out the stencil with your X-acto knife. I use #11 blades because they're tiny and I got 100 for $15. Where ever the logo is black, is going to be black on the disc.
After you cut every line out, you need to use either transfer tape (I use blue painters tape cause it's not very sticky) or contact paper to help you remove the vinyl from its backing and to help transfer the vinyl to the disc without a bunch of air bubbles. Smooth out the vinyl once its on the disc, while the tape/contact paper is still on there. Then you peel away the tape/contact paper which will bring you to step two.
Step 2:
This is what your disc will look like after you remove the tape/contact paper and "weed" out everything that you want dyed. Use the excess vinyl around the edges to make handles. It will help you lower the disc into your pot full of dye. Otherwise, you have to pinch outward against the rim and it can slip very easily...so save a lot of effort and make some little handles.
Next, smooth out every air bubble that is under your vinyl and near a cut. If there's an air bubble that's isloated on the edge, with no cut-edges near it, it's not going to cause bleeding. It's the bubbles next to the cut-edges that will cause bleeding and make your disc look like poop in the end.
Step 3:
Fill your dye pot with just enough dye to float the disc. I put about an inch of dye in it. Make sure the dye is well mixed before you pour it in the pot. Wait for most, if not all, of the air bubbles in the dye pop before you lower the disc in. I heat the dye up to the point where I can touch the sides of the pan without pain. Or just until it starts to steam, then I let it cool down from there for about 5 minutes.
As far as, "How long do I leave it in the dye for?" goes, I check at 10 minutes, looking for bubbles that didn't dye or the saturation of the color being dyed. Usually, after the first 10 minutes, I'll check it, and go another 10 minutes. It helps get better coverage of dye and the evenness of the dye across the disc cause you're positioning it in the dye at least 2 times.
Here's a picture of the disc at 10 minutes:
I checked it by holding it up against the light, seeing how dark the black was. Then I put it back in the pot for about 10 more minutes.
Step 4:
When you take your disc out of the pot, it will be dripping dye for a while. So, I like to use the burner on the stove that is closest to the sink, and put a paper plate under the disc while I'm moving it to the sink to be rinsed and finish the peeling of the vinyl. Use hot water to help remove the vinyl that's stuck to the disc.
Assuming that you've done everything correctly, you will have no bleeds, crisp and clear lines, and a dark even color. Something like this:
Peeling all that vinyl off after the dyeing can take a while...especially if you had a big stamp on there cause the vinyl likes to stick to where the stamps where for some reason. I have callouses on my fingers from peeling vinyl, so that'll tell you how often it sticks there pretty good.
I hope this will help all of you guys out. If you have any questions, post them in this thread and i'm sure someone will help you out...if not me.