aquascummm
Bogey Member
I had a huge post, then my computer crashed, so this spot is reserved for the words later. We did quite a bit different than what I've seen.
I had a huge post, then my computer crashed, so this spot is reserved for the words later. We did quite a bit different than what I've seen.
Our setup worked out well. I only had 1 packet of Rit Dye, I didn't know it was supposed to be so concentrated, I thought the packet would make a quart at least, not 2 cups.
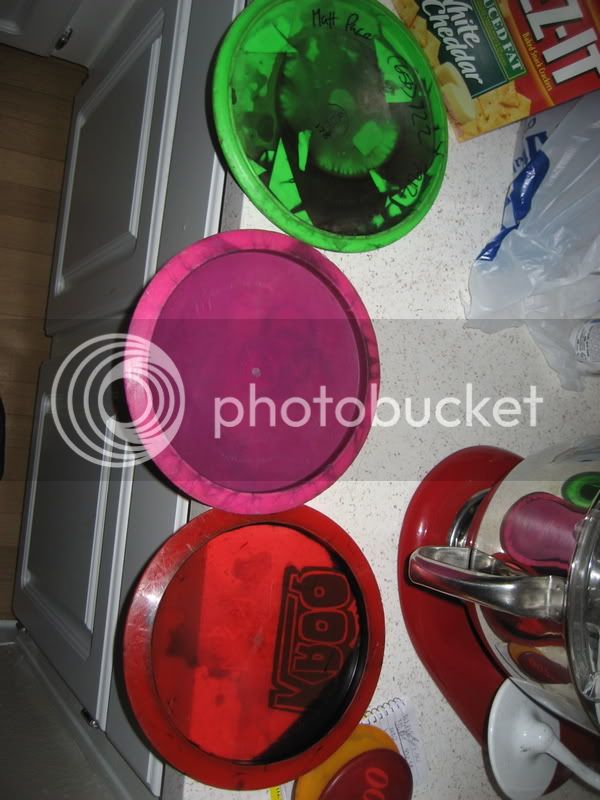
We had 3 mini marker discs, and 3 full size discs. We had one plastic rubbermaid bowl, like a salad bowl. We first added a little hot water, followed by the Rit, then a little acetone we had leftover from getting most of the stamps off. We put the discs in, then filled the bucket with hot water until the top disc barely floated. We positioned the bowl over the drain of the sink, and then filled the sink with hot water, and as it slowly leaked under the bowl down the drain, we refilled it, keeping the dye/acetone/water mixture warm. After 20 minutes or so of soaking, they rinsed clean very quickly and were ready to go. If we had more discs ready and more time, we probably could have gotten many dyes out of the solution, as it was pretty dark for being so diluted.
Things I/we learned:
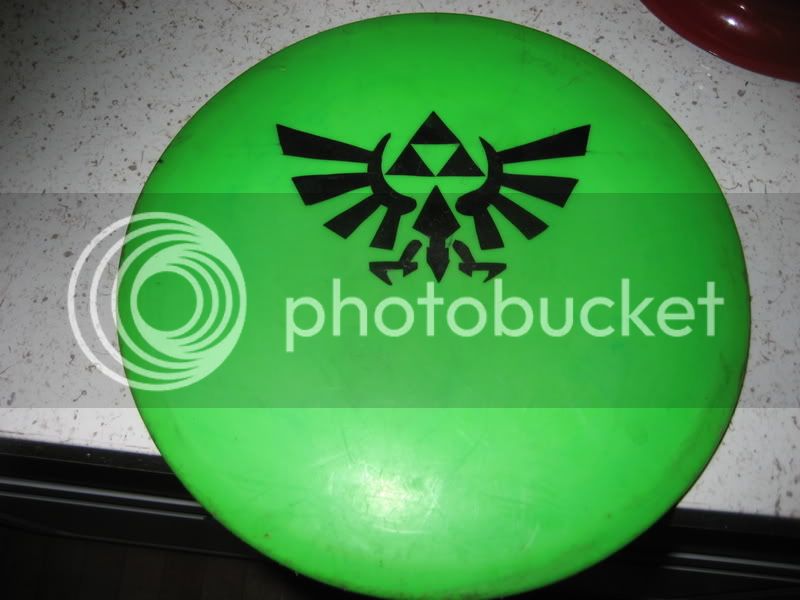
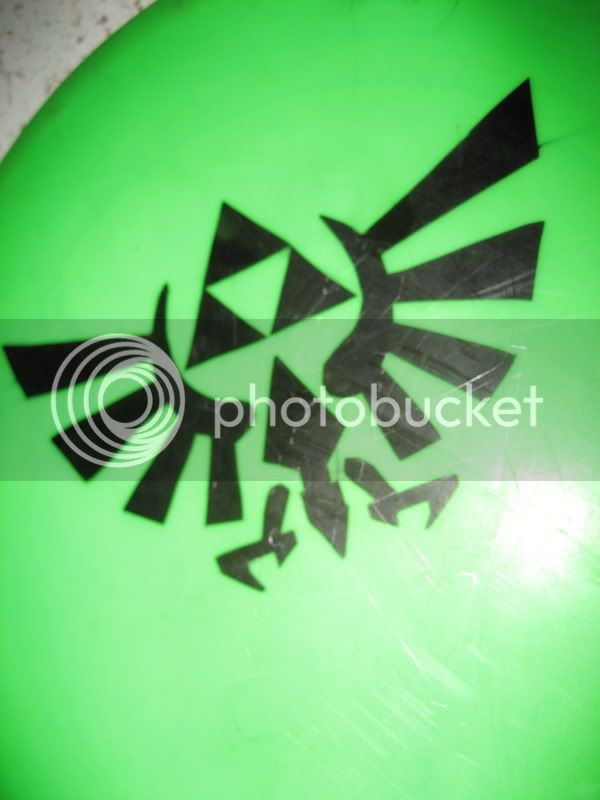
When peeling large contact paper stencils, cut the portions into smaller manageable pieces. Avoid having swervy or cornery bits of contact paper to remove, you're more likely to peel up the part of the stencil you want staying down, and compromising the seal.
When cutting through paper and contact paper, it's hard to tell if you're cutting contact paper or disc plastic, so get some practice in on a crappy disc. If you don't cut deep enough, you can trace the score line the knife did get through. Be sure all lines are cut through before beginning to peel.
Have something pretty specific in mind, and then have a backup, I spent way too much time deciding on what I wanted to do, as did everyone else, and we ended up finally dipping at 2:00 am.
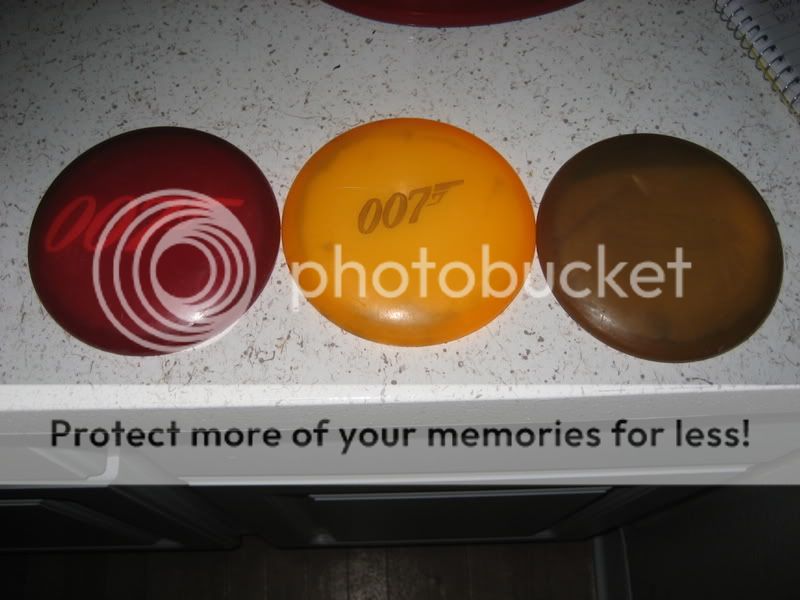
Some decals can be applied to the disc, then the whole disc is dyed, and the decals removed. It's neat seeing the contrasting colors in the 007 raspberry mini disc.
Our friend works in the sticker/t-shirt/graphics industry, so he's gonna try to hook us up with using a sticker printer/cutter (plotter), as well as something with more tack than contact paper.
I had a huge post, then my computer crashed, so this spot is reserved for the words later. We did quite a bit different than what I've seen.
Our setup worked out well. I only had 1 packet of Rit Dye, I didn't know it was supposed to be so concentrated, I thought the packet would make a quart at least, not 2 cups.
We had 3 mini marker discs, and 3 full size discs. We had one plastic rubbermaid bowl, like a salad bowl. We first added a little hot water, followed by the Rit, then a little acetone we had leftover from getting most of the stamps off. We put the discs in, then filled the bucket with hot water until the top disc barely floated. We positioned the bowl over the drain of the sink, and then filled the sink with hot water, and as it slowly leaked under the bowl down the drain, we refilled it, keeping the dye/acetone/water mixture warm. After 20 minutes or so of soaking, they rinsed clean very quickly and were ready to go. If we had more discs ready and more time, we probably could have gotten many dyes out of the solution, as it was pretty dark for being so diluted.
Things I/we learned:
When peeling large contact paper stencils, cut the portions into smaller manageable pieces. Avoid having swervy or cornery bits of contact paper to remove, you're more likely to peel up the part of the stencil you want staying down, and compromising the seal.
When cutting through paper and contact paper, it's hard to tell if you're cutting contact paper or disc plastic, so get some practice in on a crappy disc. If you don't cut deep enough, you can trace the score line the knife did get through. Be sure all lines are cut through before beginning to peel.
Have something pretty specific in mind, and then have a backup, I spent way too much time deciding on what I wanted to do, as did everyone else, and we ended up finally dipping at 2:00 am.
Some decals can be applied to the disc, then the whole disc is dyed, and the decals removed. It's neat seeing the contrasting colors in the 007 raspberry mini disc.
Our friend works in the sticker/t-shirt/graphics industry, so he's gonna try to hook us up with using a sticker printer/cutter (plotter), as well as something with more tack than contact paper.