• Discover new ways to elevate your game with the updated DGCourseReview app!
    It's entirely free and enhanced with features shaped by user feedback to ensure your best experience on the course. (App Store or Google Play)

Marbling agents

I have been working out a few mixes on colors for iDye poly. I use a 3:1 mixture with water and black and I get a good gray. I'll post a pic in the Dye a Day thread soon showing the color I can get in about 2 minutes of dip.
 
there was mention of concentrating the shaving cream earlier in the thread to get a good bed. what is the ideal solution you have come up with? I just got a new white disc in the mail and I got some vinyl to do the masking off. amazingly enough I found out most scrapbook places sell vinyl and will cut words in it for you on a plotter for cheap.. the next step is should I use liquid rit or powder? what has worked better with the concentrated bed?
 
Hi All - I'd like to thank all of you for posting up all this awesome info - I'm planning my first dye thanks to stumbling upon these threads...

I was just curious if anyone has tried any different agents other than shaving cream? I know Dan mentioned methocyl (sp?) in the 1st post, but I was specifically curious if anyone has tried sodium polyacrylate (stuff in diapers) or gelatin, or Instant Clearjel? And if so, how were the results?

thanks again!
 
^^^May work but Barbasol costs like a dollar, is easy to find, and works great, seems like a lot of trouble to go through especially if it doesn't work.
 
I was just curious - I have a little one running around, so I have a spare diaper layin' around to try the sodium polyacrylate - I'm hoping it will give a slightly different effect than the sc.

As far as gelatin, I was just curious more than anything - didn't know if you may be able to get a slightly thicker consistency than sc to expand on the concept.
 
there was mention of concentrating the shaving cream earlier in the thread to get a good bed. what is the ideal solution you have come up with? I just got a new white disc in the mail and I got some vinyl to do the masking off. amazingly enough I found out most scrapbook places sell vinyl and will cut words in it for you on a plotter for cheap.. the next step is should I use liquid rit or powder? what has worked better with the concentrated bed?

yikes.. 10 hours in the 3:5 1:5 1:5 solution.. sc,soap.water.
and............ nothing.. I guess I didn't catch the New rit dye doesn't work thread.. so I rinsed it off and blank! I'll search for the old dye today.
 
SC marble tutorial

A lot of people seem to be trying the marbling and have a lot of questions so I put this together quick, especially for pfpro and his recent problems with champ plastic. Used an Opto xXx as a substitute for champ.

First I cut and masked then put my disc in a hot dip to dye the black for 10 mins. I use slightly longer and higher heat when dying champ so the color gets more true to black.
IMG00381-20120223-2142.jpg


Second I prep the bed laying down about a 1/2 inch of sc. Make sure to get it lathered up so the air mostly gets pushed out, and level the bed out as much as possible.
IMG00382-20120223-2142.jpg


While the disc is still heating I am going to prep the bed with dye. First I'll mix up some to paint onto the top of the bed. I start with a small amount of sc in the corner of a ziploc container.
IMG00383-20120223-2144.jpg


Then I add the dye, in this case it's iDye purple, until I have a good color and consistency.
IMG00384-20120223-2144.jpg


The mixture should hold up and not run. Pick some up with a brush or straw and make sure it hangs and doesn't fall or drip off.
IMG00385-20120223-2145.jpg
 
Next we'll start the bed. I filled my bottle, which is very well used as you can see, with iDye red, about 2-3 tablespoons. Then I drag lines with squeezing the dye down into the bed. I swirled the center into a circle for a good reference point.
IMG00386-20120223-2148.jpg


After putting dye into the bed I am now going to put the dye over my lines and try to mix it together with the tip as I go to get a good color consistency going. Squirt extra dye over the top so it sinks into the bed.
IMG00387-20120223-2148.jpg


Now I add the secondary color following the same lines. Make sure to rinse the bottle well so you don't get any bad color mixes.
IMG00388-20120223-2152.jpg


Now I'll take some purple from earlier and paint it over the top of my color I have down. This is a good way to control small amounts of color over an existing design.
IMG00389-20120223-2154.jpg


Since i don't want hard lines I'll feather the dye out with my brush, rinsing off the brush often so I don't put color where I don't want it. You can do any design, but I am trying to keep it simple.
IMG00390-20120223-2157.jpg
 
Disc is done, so now I remove all the masking except for the lettering so it pops better. Then I wash the disk with very hot water and place it face down into the bed.
IMG00391-20120223-2209-1.jpg


You should apply pressure, but not so much that you ruin the bed/design. On most discs I'll take a small spatula and fold it over the edge to get a complete look by dyeing the underside of the rim. In this case I don't want that look so I left it out. Notice how the dye follows the lines I made earlier.
IMG00393-20120223-2211.jpg


12 hrs later and we get the finished disc after a little more weeding. As you can see I used two distinct colors, red and green. I did this to show how much more red will show up in any dye so be prepared for that when you make the bed. The green, while it is a lot greener than the pic shows, is much lighter. Some colors like green, as well as yellow and orange, are harder to marble than others.
IMG00394-20120224-0937.jpg


Hope this helps everyone who had questions. This method works best on Star/ESP/Medium MVP etc. Champ type plastics take a minimum of 12-24 hours depending on the color choices. Happy Dyeing!
 
This is awesome. Thanks for the tutorial!
 
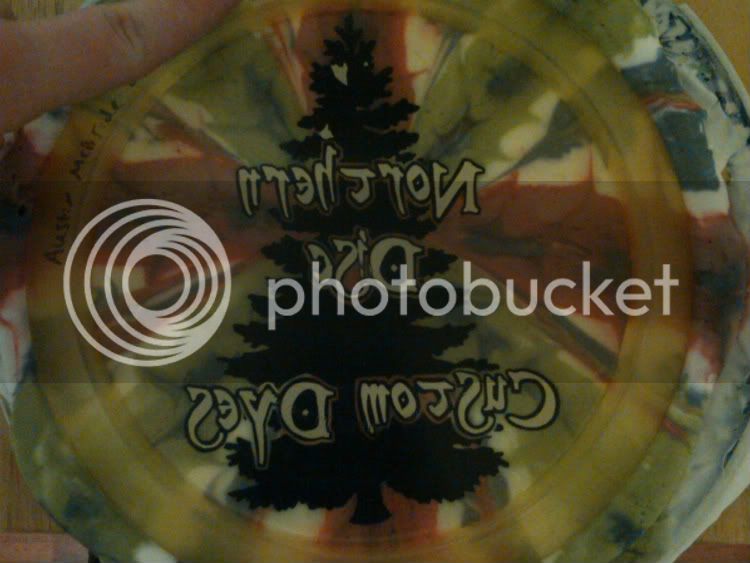
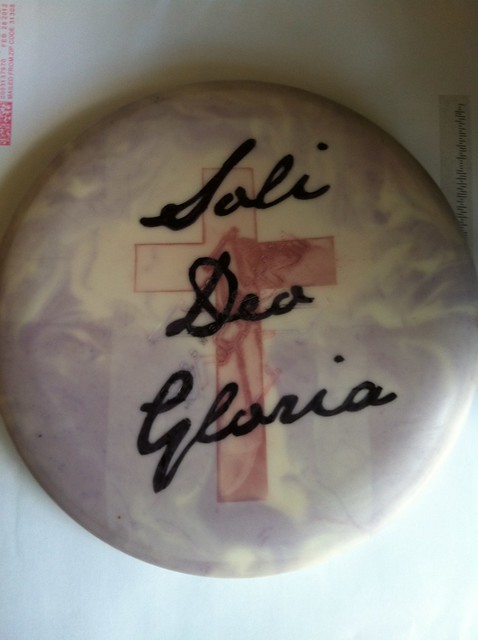
Well, I did my first dyes last night - 1 dip & 1 "marbling" - the stencil had some bleeds due to the painters tape pulling up the stencil in places (need to get some transfer tape or less sticky painters tape)....

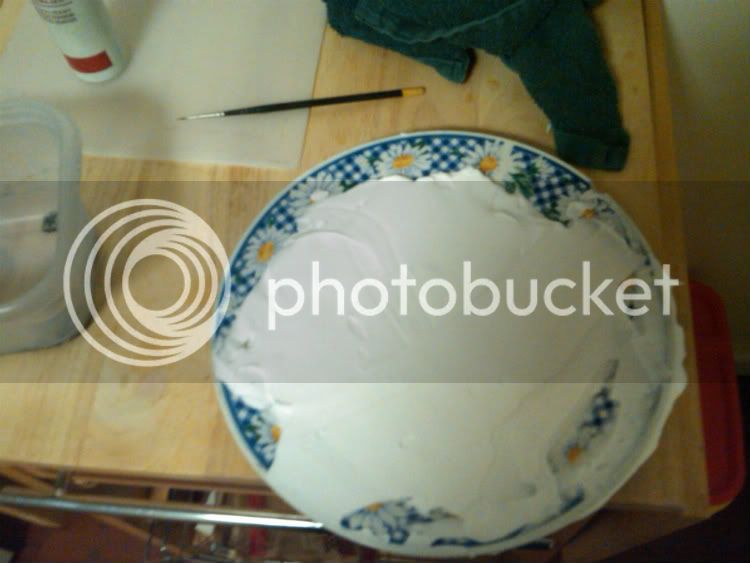
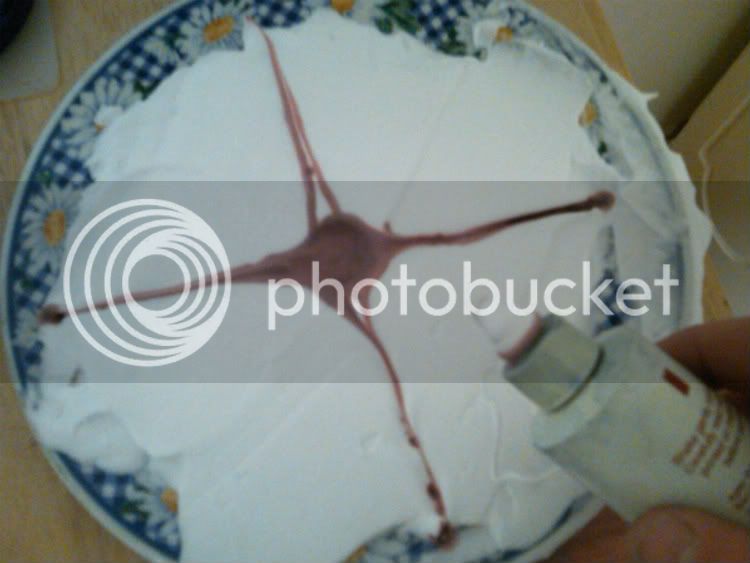
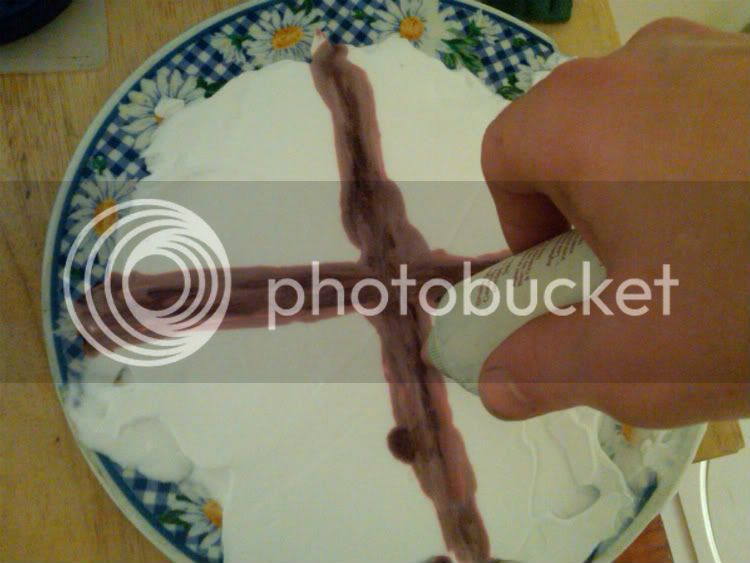
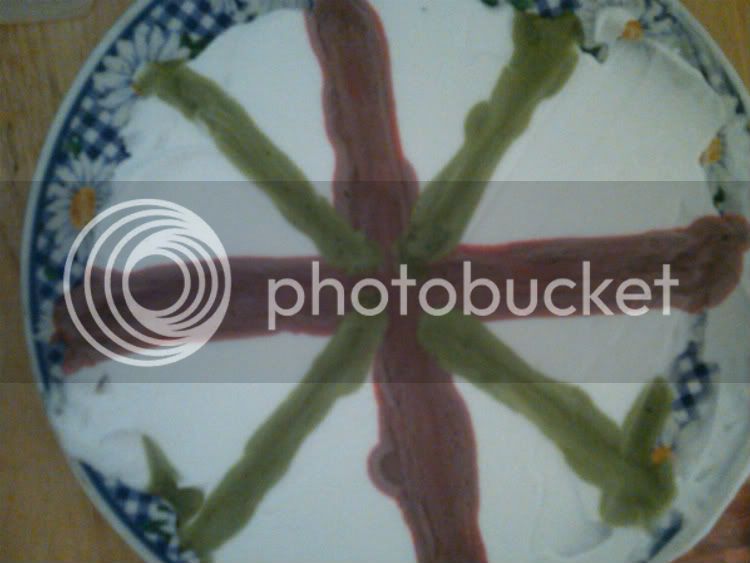
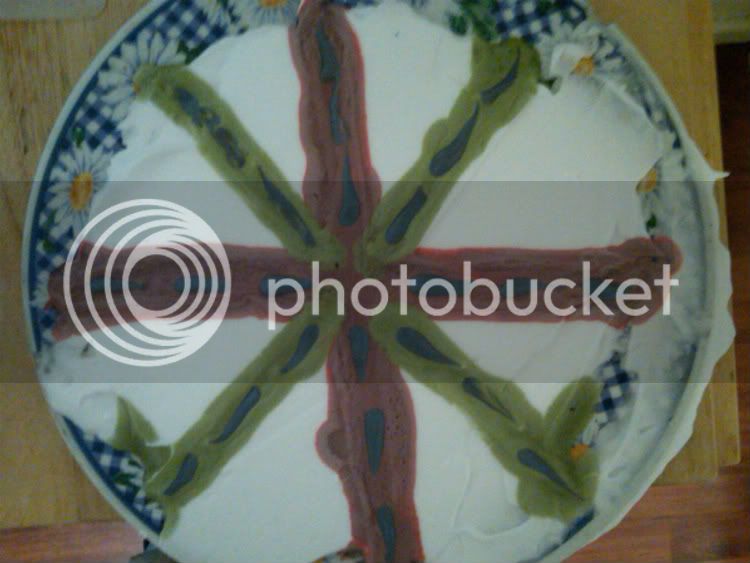
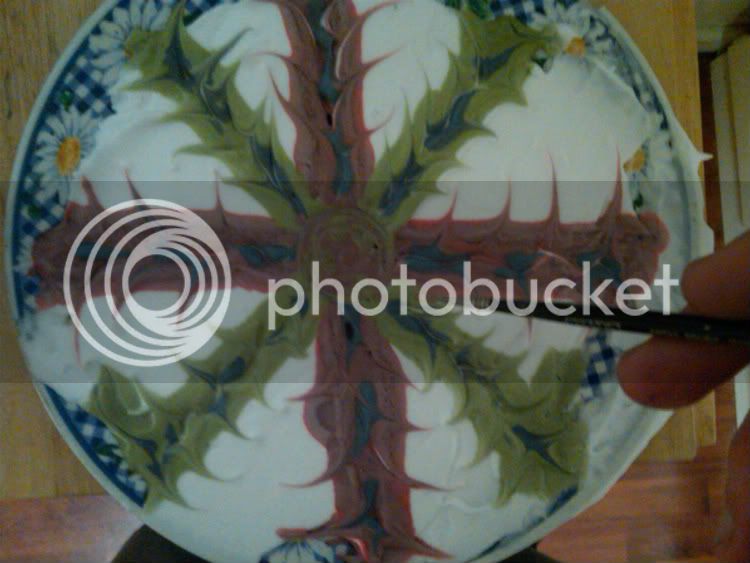
The marbling was done using a diaper - pulled it all apart & ripped up the absorbent layer & laid it in a pie pan - wet it down real well, then just drew a star on top - looks ok, but needs some additional color (want to add some red).

Have to run out the door right now, but will hopefully post some pics before the weekend is over.
 
First attempt at marbling

I had a JK Aviar-X xout that i wanted to attempt to dye with the SC paint method. Didn't go so hot - after two attempts to paint black, I decided to go sharpie over my vinyl. I decided to mess with the marble to see what would happen - I wanted to marble a red cross, but either the dye didn't take, or my height was off. The marble was black and red. Tough to say if it dyed a mix, or the black iDye poly just came out light with a purple tinge. The disk sat in the SC bed for about 48 hours. I did come back, remask and attempted to paint the red dye on. Got some interesting patterns. So, if anyone wonders what JK pro plastic looks like, here it is....
6810002972_408d3ecd42_z.jpg
 
I am thinking about trying this out as my first dye.... one quick question.... after the dye has set over night, do you just was the sc and dye off with cool water?
 
So.... all that I could get as far as dye that works is black RIT powder..... tried bidding on some old RIT powder on epay. I am waiting on getting more colors to try a dye. So.... anyway..... one more newb question. For this process, those using the powder form, should I prepare the powder dye like normal and then mix it with the sc/acetone? Does the powder form need to be warm to work this way, or can it be applied at room temp like the liquid?

Sorry for all the questions, I read through all of the pages and couldn't really find the answers. Thanks guys!
 
i think you need to mix it or you'll get "speckles" - but I'm no expert. Read the entire "Marbling" section of the 'Disc Dying Techniques" for a full overview/instruction on the process. VERY informative (and the pics are great, showing the evolution of the process).
 

Latest posts

Top