• Discover new ways to elevate your game with the updated DGCourseReview app!
    It's entirely free and enhanced with features shaped by user feedback to ensure your best experience on the course. (App Store or Google Play)

Spin Painting

Dan Howard

Double Eagle Member
Joined
Aug 5, 2010
Messages
1,034
Location
Paola, Ks
Brainwavedisc aka Jeff Ash recently demonstrated a new painting method using a turntable and dye. Here's my practical application, please feel free to add whatever might be working for you.
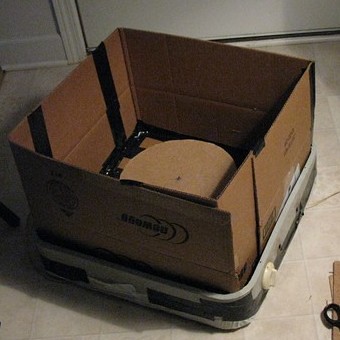
Set-up
spinpaintboxsDSC_2398.jpg

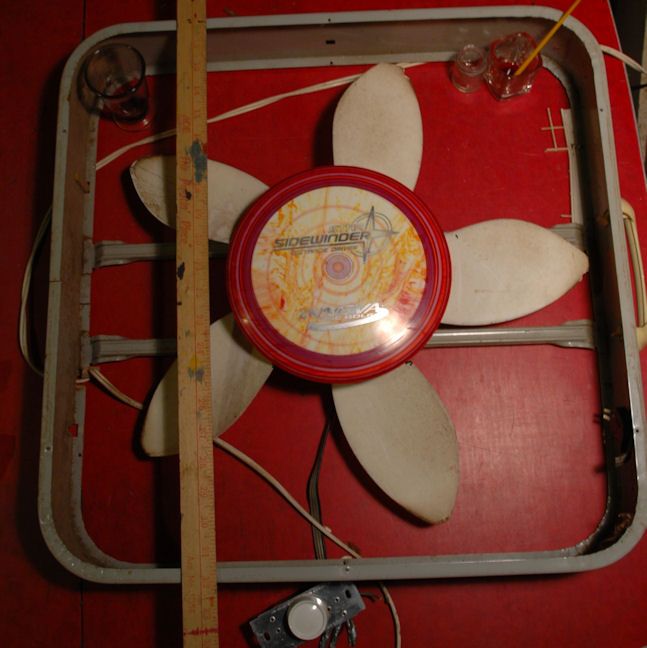
A box fan with the guards removed and the three way speed switch replaced with a $5 basic rotary dimmer switch. To center you to set the disc down and while slowly speeding it up bring in the yardstick in and allow it to remove the high side.

I used powder rit and acetone, experimented using a brush and q-tips, sometimes with dye and sometimes just acetone. I would have done more but used up the last of the acetone pretty early on. I think thickeners (dishsoap...) may be helpful in creating smoother gradients but need to try it out, coming soon!
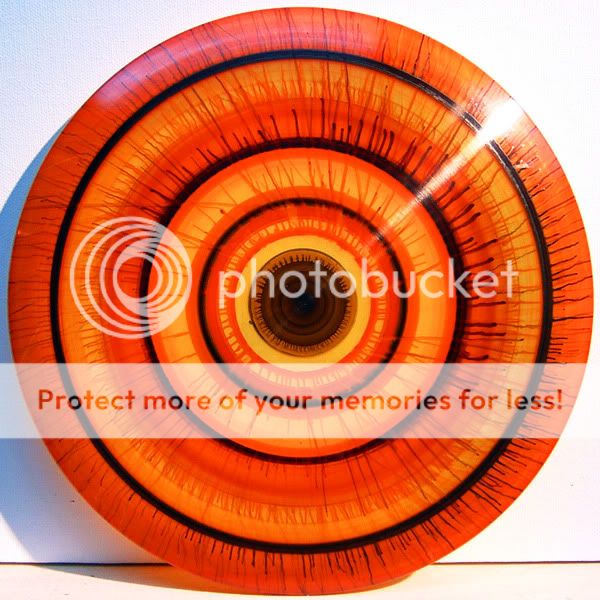
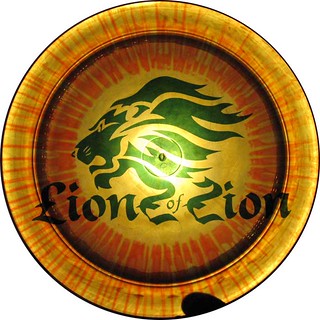
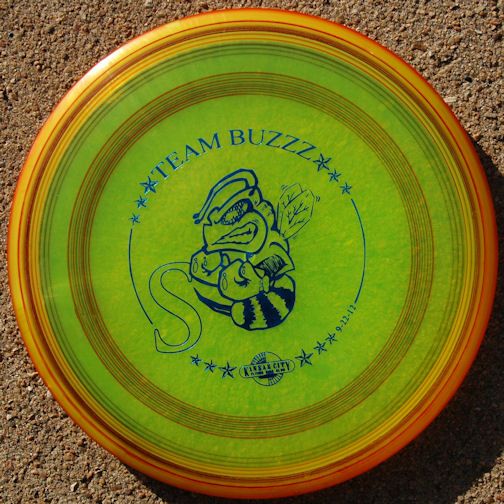
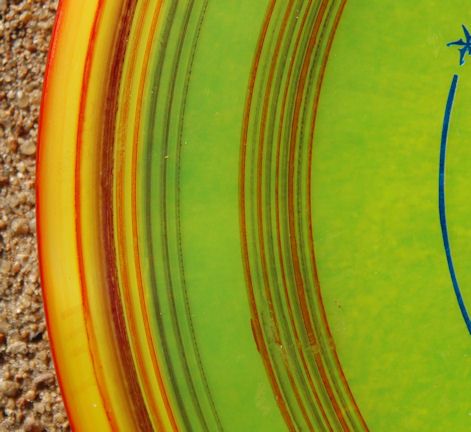
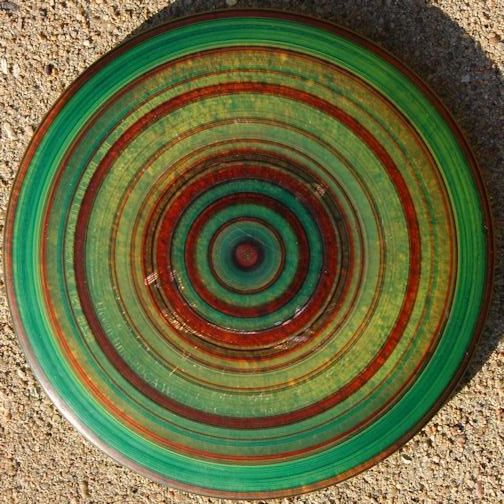
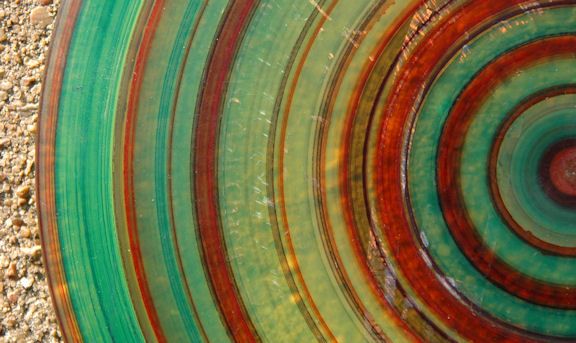
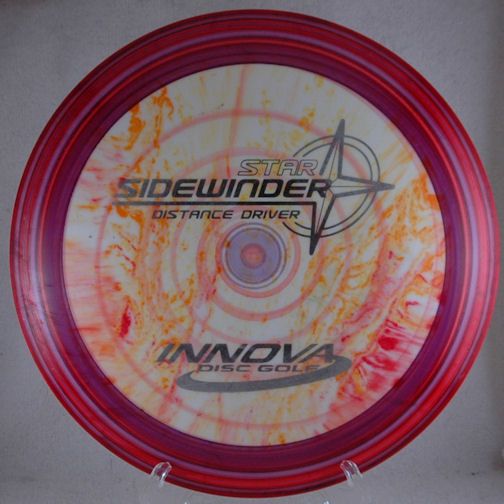
Results
spunSWsDSC_2408.jpg
 
I did kinda the same thing but I didn't "paint". I squirted dye on my discs so make designs similar to the fly-dyes the factors make. Pretty cool design though like the swirls.
 
Nice work. When I readthe title to this thread, Jeffs name was the first thing to come to mind.

:hfive: Keep the pics coming!
 
I love the laminated wood look the edges get when the right color combos are in place. I've been thinking about putting together a fan setup since I started dying. Nice work!
 
I'm using the basic box fan set up. Have not yet installed the dimmer switch. I've found the basic low speed setting great for applying/blending and then a bump up to high speed (with enough dye of the right consistency sitting on top) to get the dye to 'spin out' in the fine lines.
this was posted in dye a day, but thought it would fit here as well.
spin.jpg
 
I would add that building some cardboard walls can help prevent dye splatter:

8188844459_0fcf82c006.jpg


Built this thing years ago, only used it a couple times, just not my style. But the sides that I put up are COVERED in dye cast off from the spinning! I'll get a pic of the walls as they look now.


8189929062_3242b73252_n.jpg
 
Bennett I'm curious how you attached the round board to the fan.

Played around with this a bit this morning, it's fun but in the end all I can really do is circles, gets a little redundant...

spinTLsDSC_2452.jpg


spinbuzzzsDSC_2450.jpg


spinbuzzztightsDSC_2445.jpg


spinteebirdsDSC_2435.jpg


spinteebirdtightsDSC_2440.jpg
 
I am guessing he took the fan off and just attached something to it.
 
I'm using the basic box fan set up. Have not yet installed the dimmer switch. I've found the basic low speed setting great for applying/blending and then a bump up to high speed (with enough dye of the right consistency sitting on top) to get the dye to 'spin out' in the fine lines.
this was posted in dye a day, but thought it would fit here as well.
spin.jpg

i really like how this highspeed spin worked out! how does one get the right consistency sitting on the top to get the fine lines.

awesome.
 
thanks.... as you can see it's not quite an exact science. I've found that the thicker the mix (more soap) the wider and clunkier the lines are while a more runny mix (acetone without soap) will spin out in finer lines. By using different thicknesses of dye applied and spun before they evaporate you can get them to interact. Towards the center of that disc you can see where a 'thin' red dye spun out over a 'thick' black ring. You can also see that my disc (or fan) was not level as there is more black dye on one side of the disc. hope this helps. experiment and have fun
 
So, I'm electrically retarded, but a quick learner. I've combed the YouTube for a how-to on installing that dimmer switch on a fan, but all I've learned is how to replace a wall switch with a dimmer switch. (Useful, but not quite right now.) Does anyone have a finger they could point towards where I could find out more, or perhaps have a couple minutes to lay down a quick primer? I'd really like to have one of these contraptions, but don't want to destroy several fans in the process of learning to make one.
 
I'm an electrical retard as well but I took a shot and it worked. I did make sure I was plugged into a power strip with a breaker in case I did anything wrong.

Two lines in from the outlet were indistinguishable to me, I just picked one for the ground (this may have been very lucky???).

Dimmer switch has three lines out of it, two black grounds and one green.

Fan motor has four lines out of it, one black ground and three greys (I assume one for each speed the fan ran at, slow, med, fast), again I just picked one and taped off the other two.

Diagram below shows what I did.
 

Attachments

  • Image1.jpg
    Image1.jpg
    26.3 KB · Views: 158
If you don't mind sharing, I'd love to know your basic RIT / liquid soap / acetone formula for spin painting :) I can't imagine ever producing something as awesome as your MVP circle paintings with marbling, but I have to try my hand at this magic.
 
I'm using Rit/acetone, pretty much eyeballing it but it's around 1/4 tsp powder rit to 1 tablespoon acetone. Stir to mix and you are ready to go.
 
Top