TwoChain
Bogey Member
buzzz flx
Discover new ways to elevate your game with the updated DGCourseReview app!
It's entirely free and enhanced with features shaped by user feedback to ensure your best experience on the course. (App Store or Google Play)
^Nailed that dye, you did!
^^ Great job Bennett!
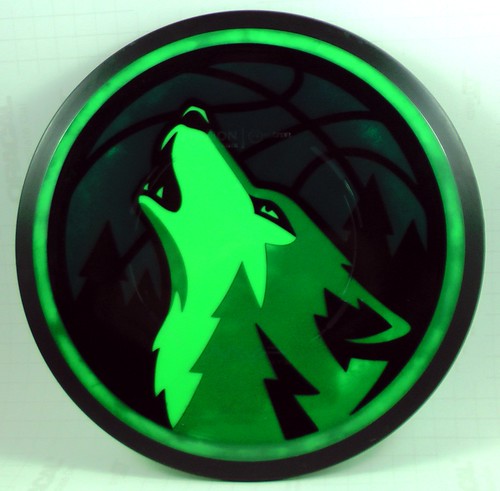
My first 2 successful dye jobs.
Many thanks to YOU for being able to pay it forward to AFTC with these great MVPs!
")
My first 2 successful dye jobs.

 !.
!.What is the green you are using if I might ask?
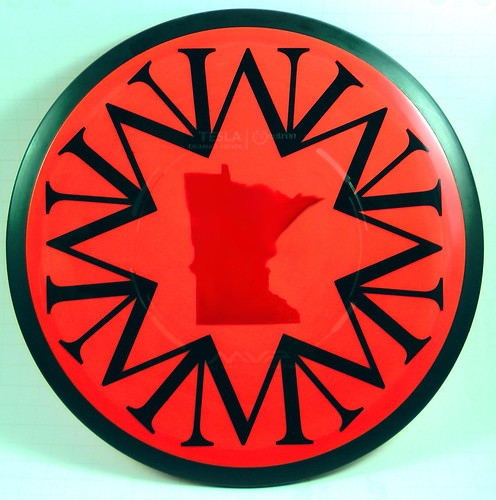
Here is my latest dyes one for myself and the other for a friends b-day present.
The Cobra on the King Cobra ( my second dye ) is a thrower that I bag myself. This one was just a red dip that was dipped three times to get the dark red. No bleeds either, I was happy
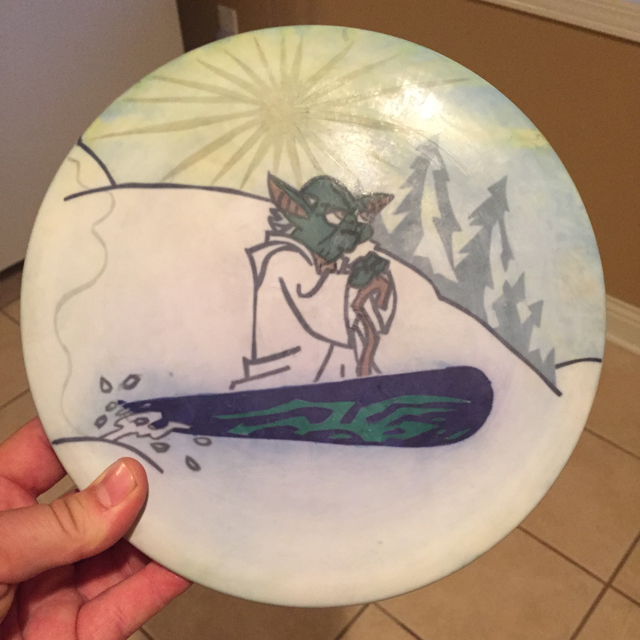
The Star Wars "yin-yang" ( my third dye ) is on a Moonshine River for a friend and fellow "Star Dork" like my self. This was my first two color dye. Several dips in the black and then about eight minutes in the red. Turned out pretty awesome and the only bleed was on the nipple. I did not realize that the nipple was so pronounced until I had placed the vinyl.
The stamp was deep on the edges so that is why the stamp is not positioned to read correctly when the disc is upright. I was just trying to keep the bleeds at bay.
My wife thought this one turned out so good that I should not give it away. I bought this disc with the intention to dye it and give it away. So away the disc must go
I will try to take and post a glow pic update soon.
Mega thanks to Bennett for the vinyl cuts and the help. He is always there when I have noob dye questions, :hfive: for an awesome dude!
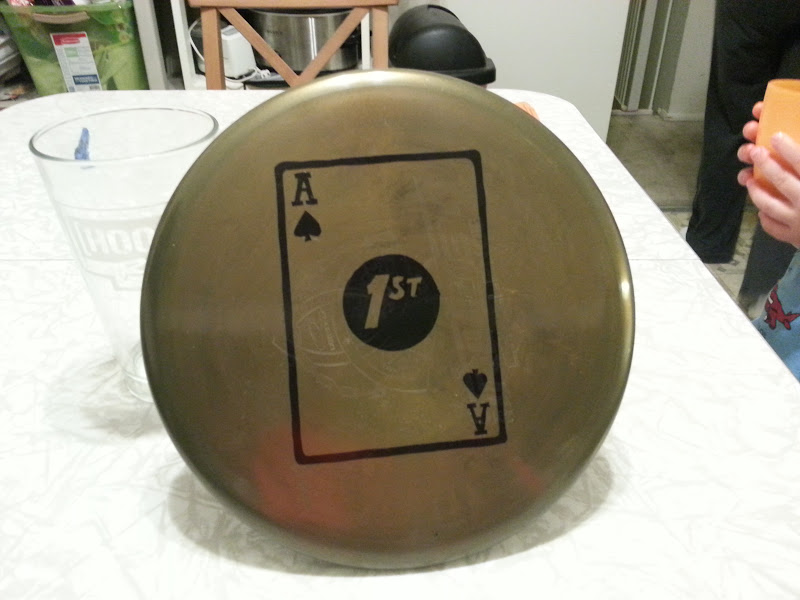
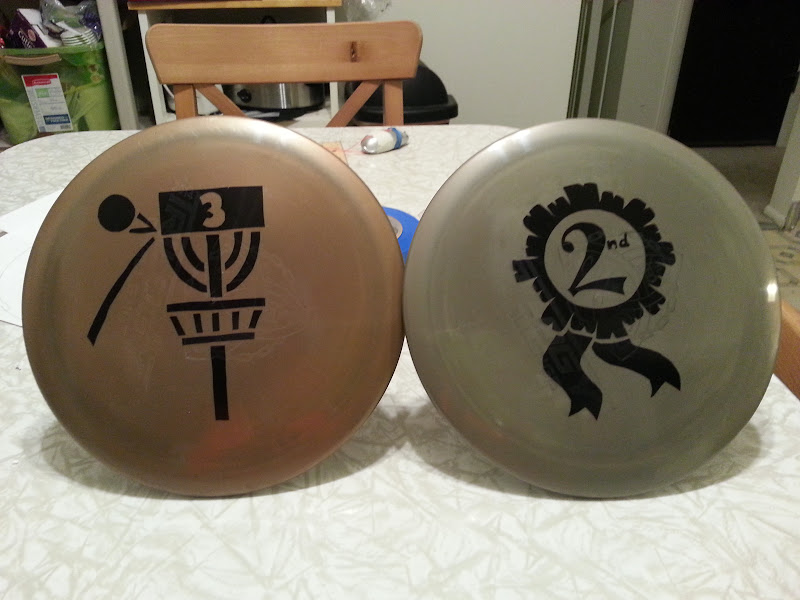
nothing hugely complicated, but finally dyed our 'travelling trophy discs' for our (can't-officially-call-it-a-)league at work last night:
pretty happy with how they turned out, considering these are dyes #2-4 for me...
Did some stuff well. Did some other stuff not-so-well.
If I start going into detail I will end up with a massively huge post, so I will just say that overall I am happy with it. I wish I had a second chance at a lot of stuff, but that's how it goes.
I have about 25 pictures throughout the process - if people are interested I can post a full write up in a different thread. Let me know.
The pics below are (1) as far as the first mask took me, and (2) as far as the second mask took me. It was done with only the 1 remask.


