Belyeu53
Newbie
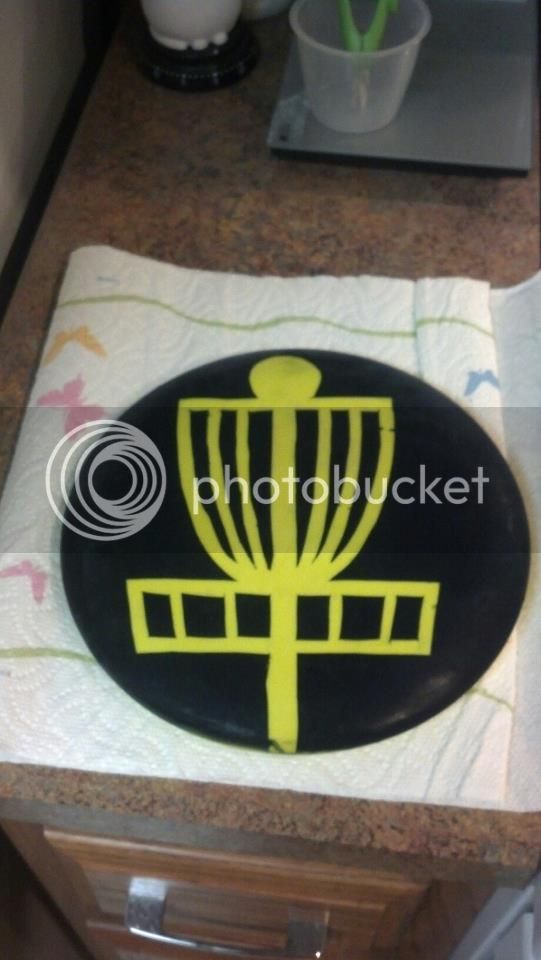
1st attempt dyeing
2nd attempt this one was for my wife
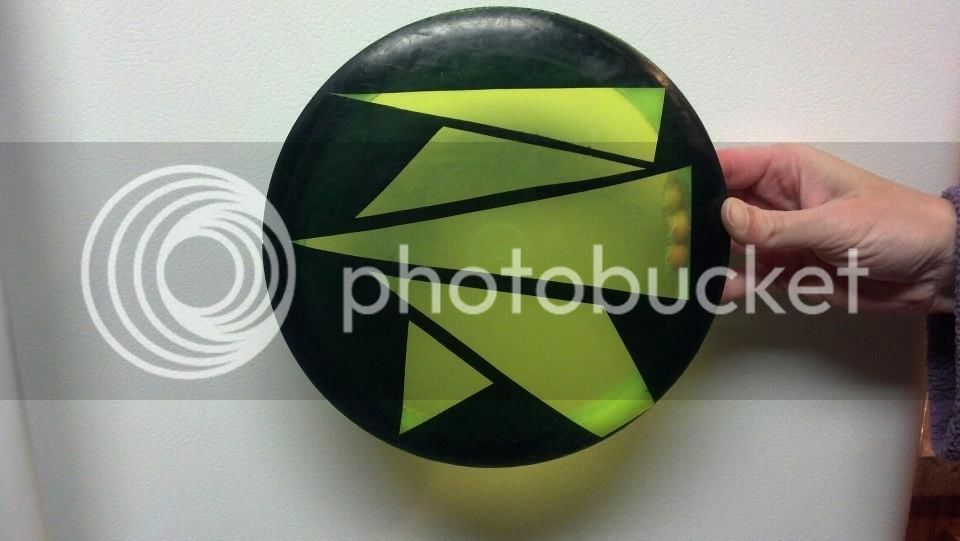
3rd attempt and first multicolored
Discover new ways to elevate your game with the updated DGCourseReview app!
It's entirely free and enhanced with features shaped by user feedback to ensure your best experience on the course. (App Store or Google Play)


")