DiscChucker
Eagle Member
I've been meaning to post this for several months now but life has been to busy for me to just sit down and hammer this out. Lately though there have been a rash of threads that people have posted that I've felt I could share some knowledge on so I was inspired to get this done.
So without further ado…
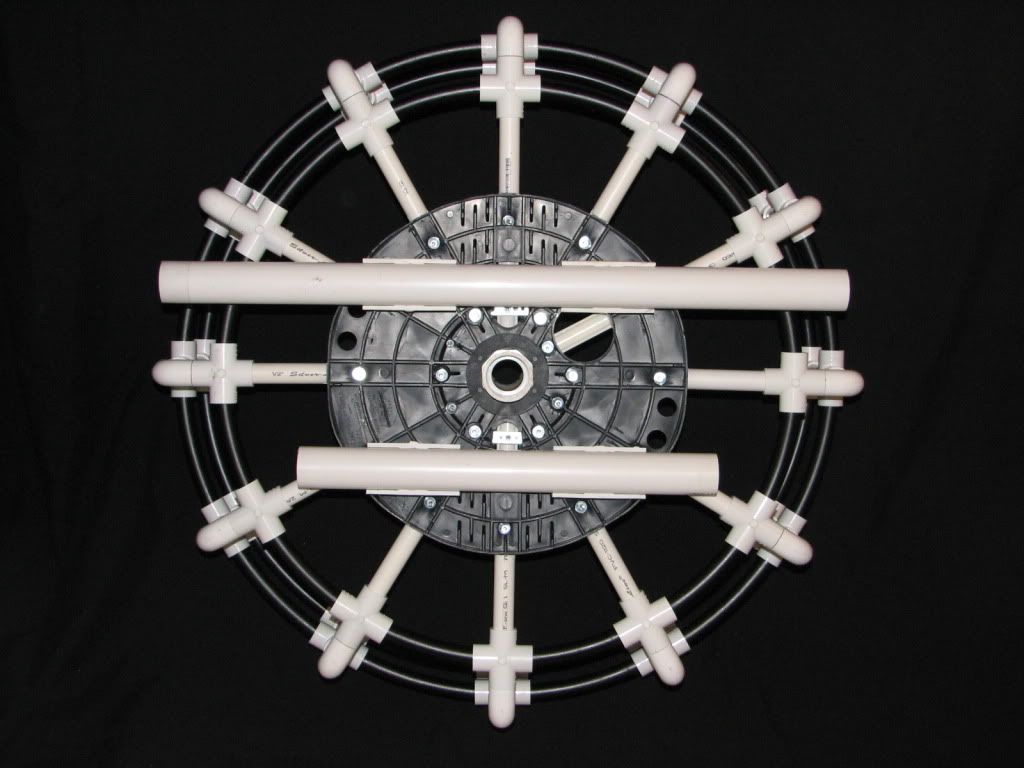
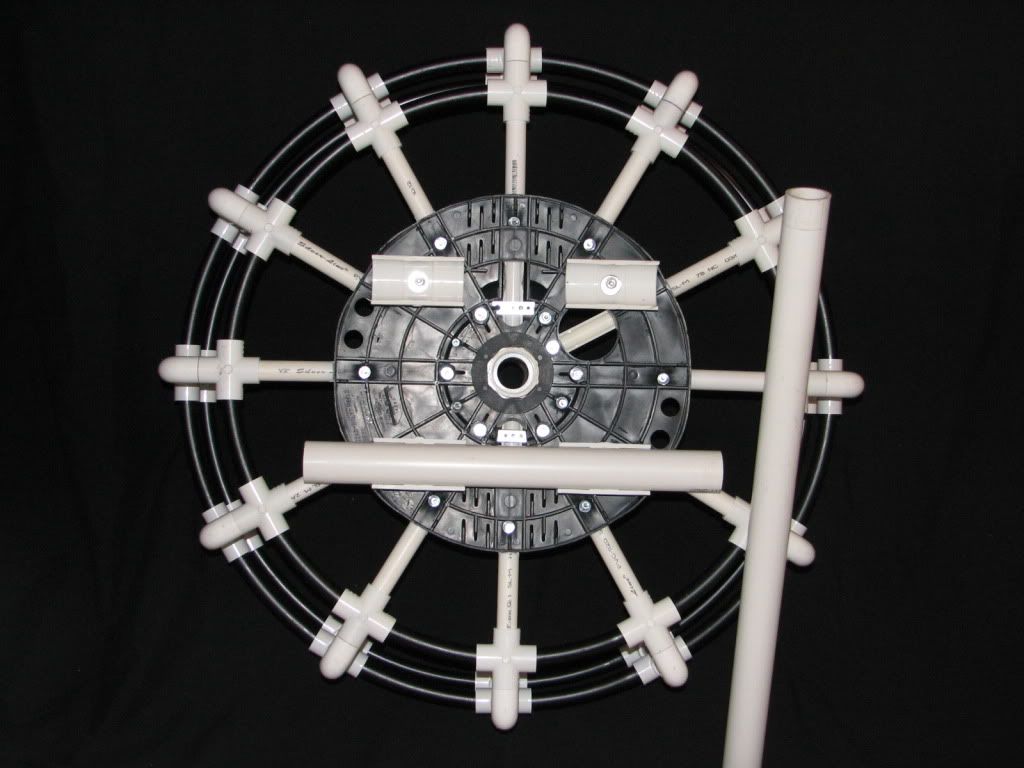
I'm proud to present my first homemade disc golf basket; The Pin Wheel. This was an incredibly fun project to work on. I don't know that I'll ever say that it's finished. I'm always thinking of new design elements and tossing around new ideas in my head. Right now, this basket is prototype 1.3. As I modify or add things to the design, the revision number will change.
There were several homemade baskets on this site that served as inspiration in the design of my basket. I tried to incorporate in my basket what I thought to be some of the best design elements in these other baskets. I have a lot of admiration for those fellow discers out there who have taken on the challenge of designing and building their own basket. There are some incredibly creative people out there.
One of the biggest challenges for me is that I do not have the equipment necessary to weld nor do I have the skill set for welding. If I possessed both of those assets, this project would have been a breeze. I would like to one day learn the trade of welding for the obvious reason of creating my own permanent basket design. But until then, I had to make do with alternative materials.
Here are the details of this project.
Objective
To build a homemade basket that meets the following requirements (this is what I came up with prior to the start of this project):
1. Must meet regulation dimensions as outlined by the PDGA specifications.
2. Must use components or parts that are attainable from local and on-line retail stores, hardware stores, secondhand stores, flea markets, garage/yard sales, on-line listings (eBay, craigslist, freecycle, etc.), everyday household items and curbside refuse or other unwanted trash/garbage items.
3. Build process will not require welding, brazing or torch cutting of any kind. Many people don't have the necessary tools or skills to accomplish these tasks. The tools required to complete this DIY project should not include high end specialty tools.
4. Custom fabrication by third party sources can increase the cost of the final product exponentially so this too will be avoided as much as possible.
5. Must be structurally stable and able to withstand a forcefully thrown disc from as little as 20' away.
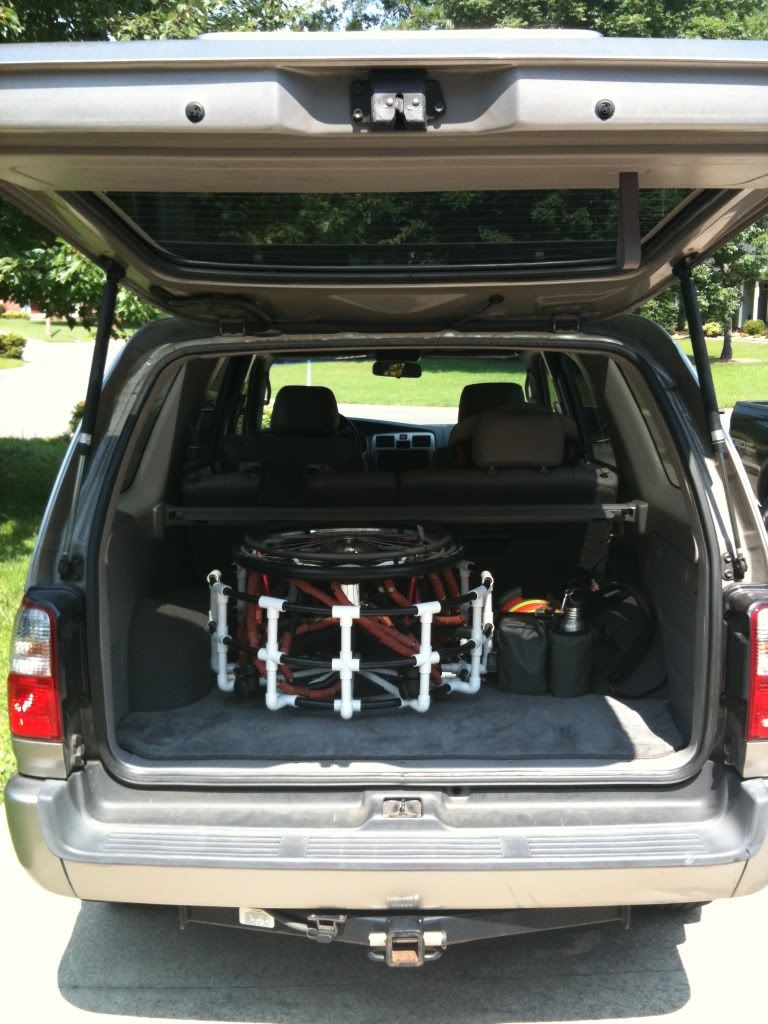
6. Must be light enough and be able to break down to a point that allows it to be portable. Portable in this case would mean it can be easily transported in the trunk of a car and carried by a single person.
7. Final product must be disc friendly. This means that it will be designed such that there are no sharp edges/points or rough areas that will easily mar, dent, scrape or gouge a disc.
8. Assembly of the final product should require as few tools as possible. Ideally, it should require no tools whatsoever.
9. Total assembly time of the final product should take no more than 10 minutes. Target goal for assembly time for this basket will be 5 minutes.
10. Basket must perform as well if not better than a championship caliber basket.
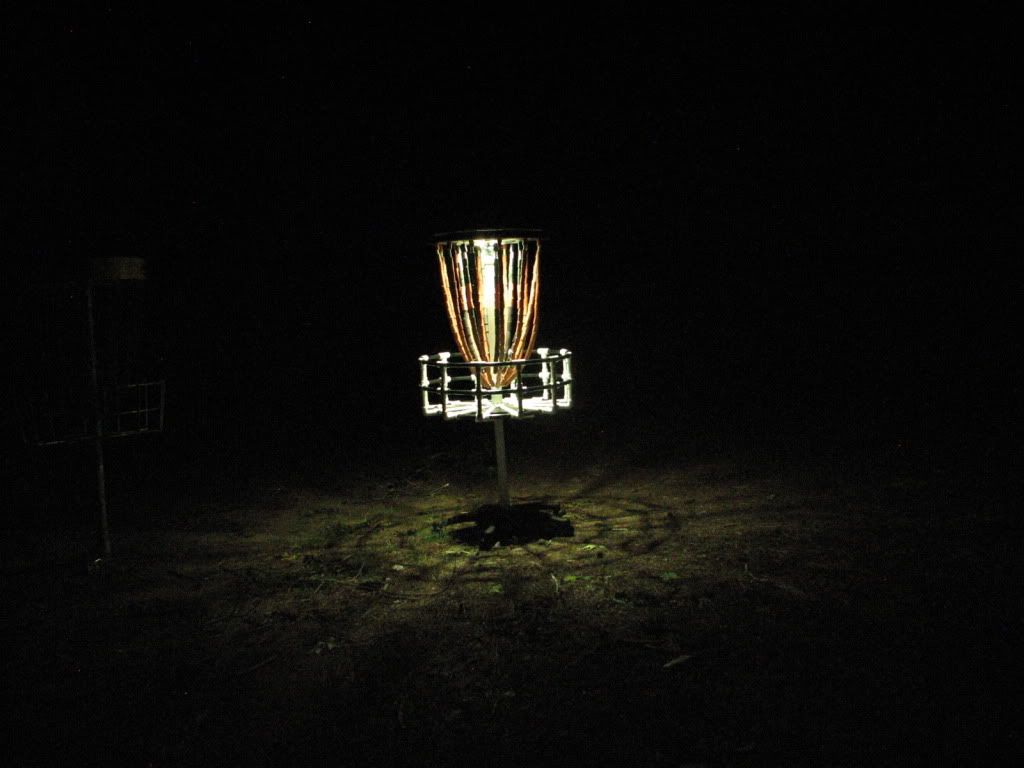
11. Final product must have at least one feature that does not currently exist on production baskets that are on the market (both permanent as well as portable).
12. Not to exceed $100 in material.
Other notes:
1. There is no restriction on the build time for this project.
2. Obviously this will not be a final, ship to market quality basket. This is, for all intents and purposes, a fun DIY project.
Now check out the pictures.
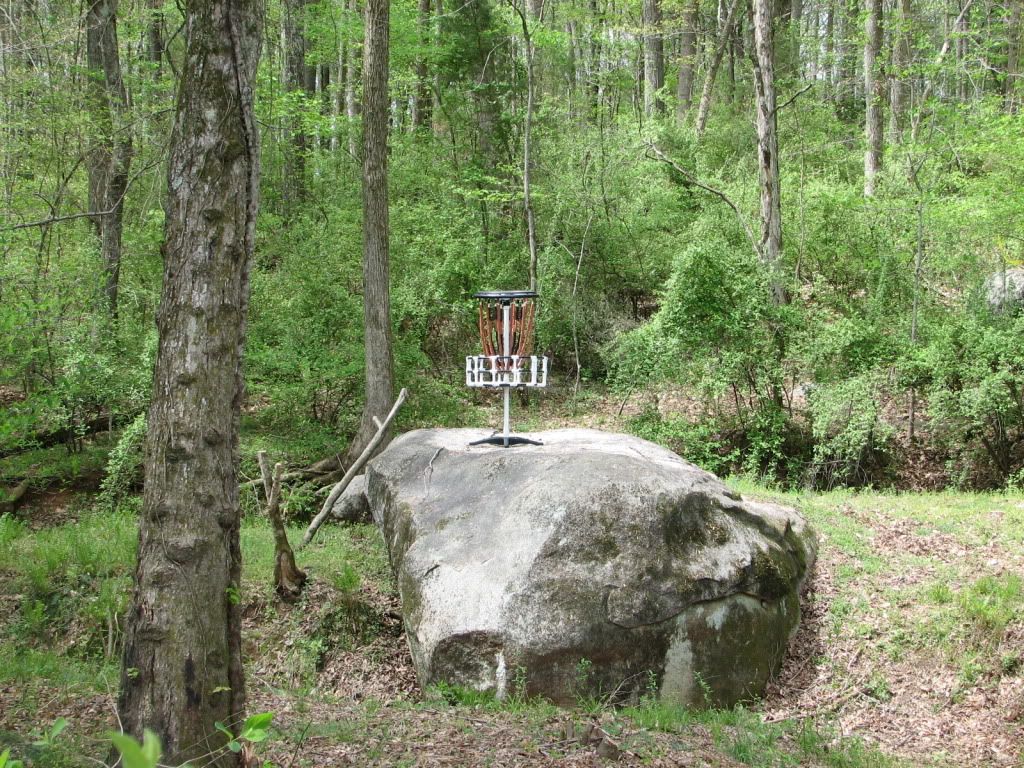

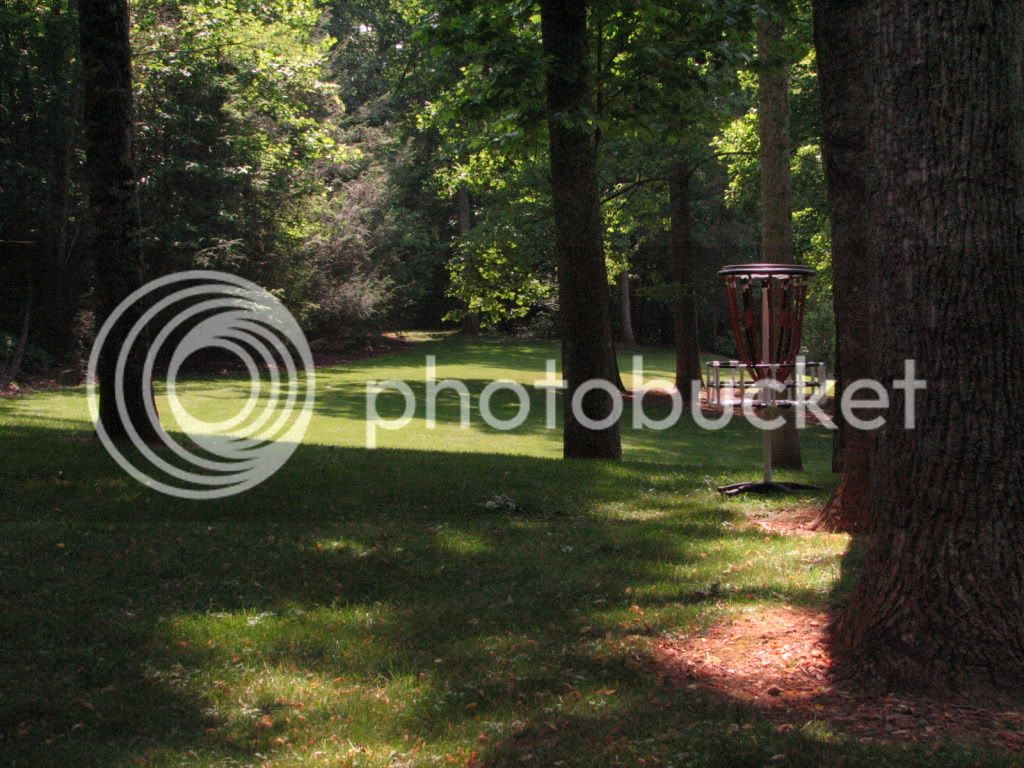
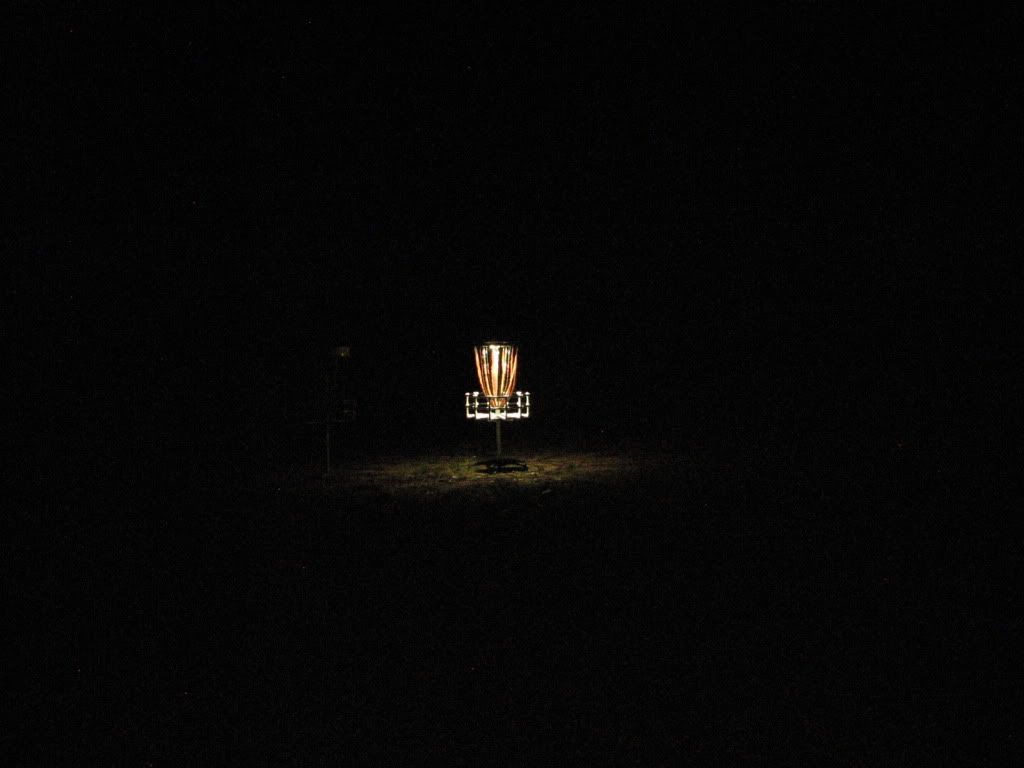
Hornets Nest #13
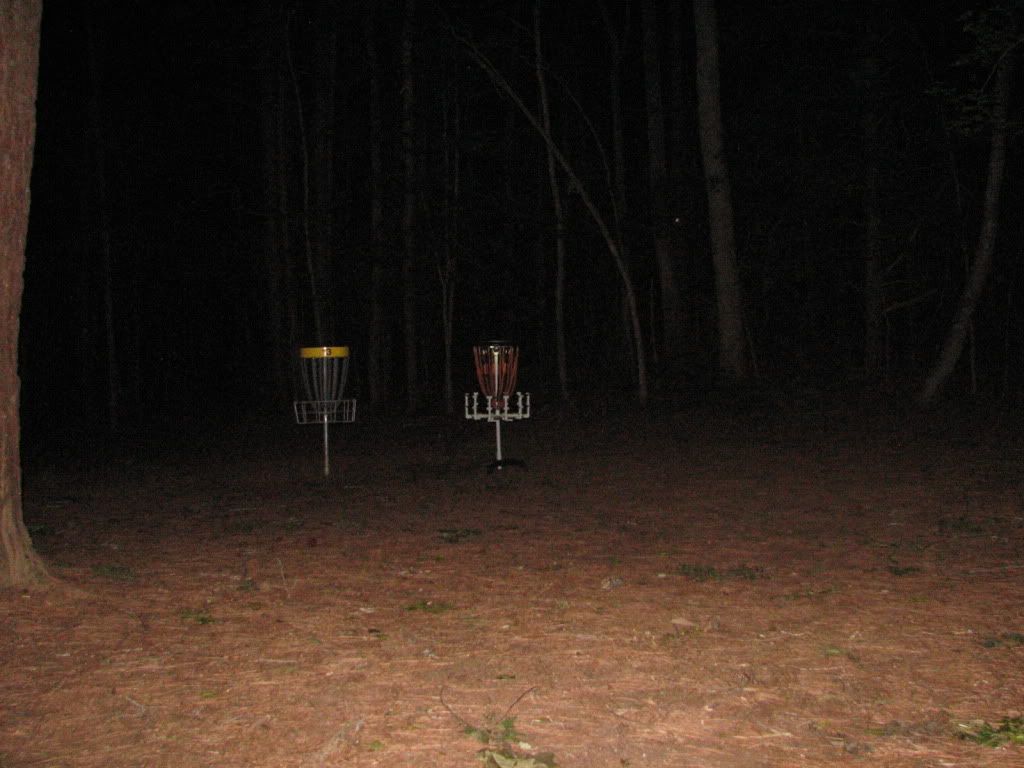
We don't need no stinking glow sticks!
So without further ado…
I'm proud to present my first homemade disc golf basket; The Pin Wheel. This was an incredibly fun project to work on. I don't know that I'll ever say that it's finished. I'm always thinking of new design elements and tossing around new ideas in my head. Right now, this basket is prototype 1.3. As I modify or add things to the design, the revision number will change.
There were several homemade baskets on this site that served as inspiration in the design of my basket. I tried to incorporate in my basket what I thought to be some of the best design elements in these other baskets. I have a lot of admiration for those fellow discers out there who have taken on the challenge of designing and building their own basket. There are some incredibly creative people out there.
One of the biggest challenges for me is that I do not have the equipment necessary to weld nor do I have the skill set for welding. If I possessed both of those assets, this project would have been a breeze. I would like to one day learn the trade of welding for the obvious reason of creating my own permanent basket design. But until then, I had to make do with alternative materials.
Here are the details of this project.
Objective
To build a homemade basket that meets the following requirements (this is what I came up with prior to the start of this project):
1. Must meet regulation dimensions as outlined by the PDGA specifications.
2. Must use components or parts that are attainable from local and on-line retail stores, hardware stores, secondhand stores, flea markets, garage/yard sales, on-line listings (eBay, craigslist, freecycle, etc.), everyday household items and curbside refuse or other unwanted trash/garbage items.
3. Build process will not require welding, brazing or torch cutting of any kind. Many people don't have the necessary tools or skills to accomplish these tasks. The tools required to complete this DIY project should not include high end specialty tools.
4. Custom fabrication by third party sources can increase the cost of the final product exponentially so this too will be avoided as much as possible.
5. Must be structurally stable and able to withstand a forcefully thrown disc from as little as 20' away.
6. Must be light enough and be able to break down to a point that allows it to be portable. Portable in this case would mean it can be easily transported in the trunk of a car and carried by a single person.
7. Final product must be disc friendly. This means that it will be designed such that there are no sharp edges/points or rough areas that will easily mar, dent, scrape or gouge a disc.
8. Assembly of the final product should require as few tools as possible. Ideally, it should require no tools whatsoever.
9. Total assembly time of the final product should take no more than 10 minutes. Target goal for assembly time for this basket will be 5 minutes.
10. Basket must perform as well if not better than a championship caliber basket.
11. Final product must have at least one feature that does not currently exist on production baskets that are on the market (both permanent as well as portable).
12. Not to exceed $100 in material.
Other notes:
1. There is no restriction on the build time for this project.
2. Obviously this will not be a final, ship to market quality basket. This is, for all intents and purposes, a fun DIY project.
Now check out the pictures.
Hornets Nest #13
We don't need no stinking glow sticks!


")