• Discover new ways to elevate your game with the updated DGCourseReview app!
    It's entirely free and enhanced with features shaped by user feedback to ensure your best experience on the course. (App Store or Google Play)

Gradient tool

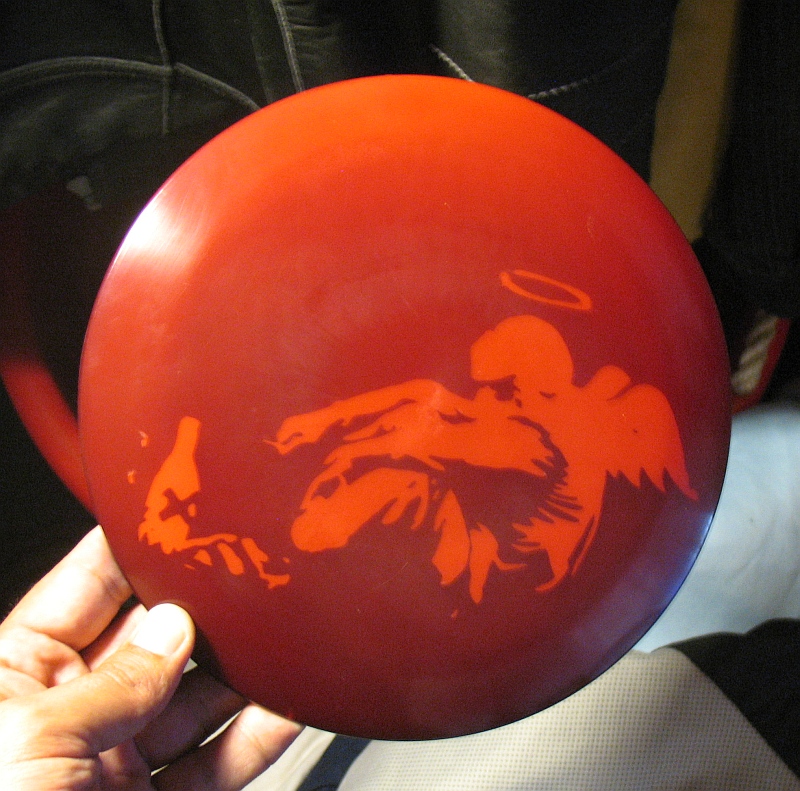
Moon says many lite washes.

i agree, for a more subtle effect.

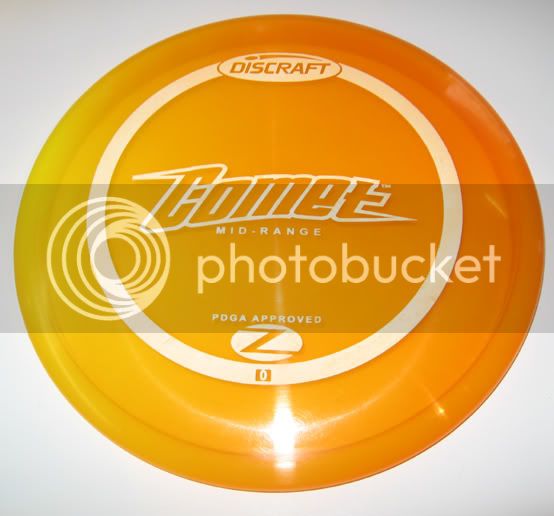
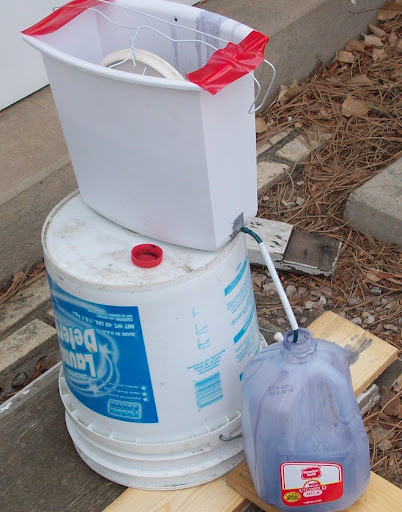
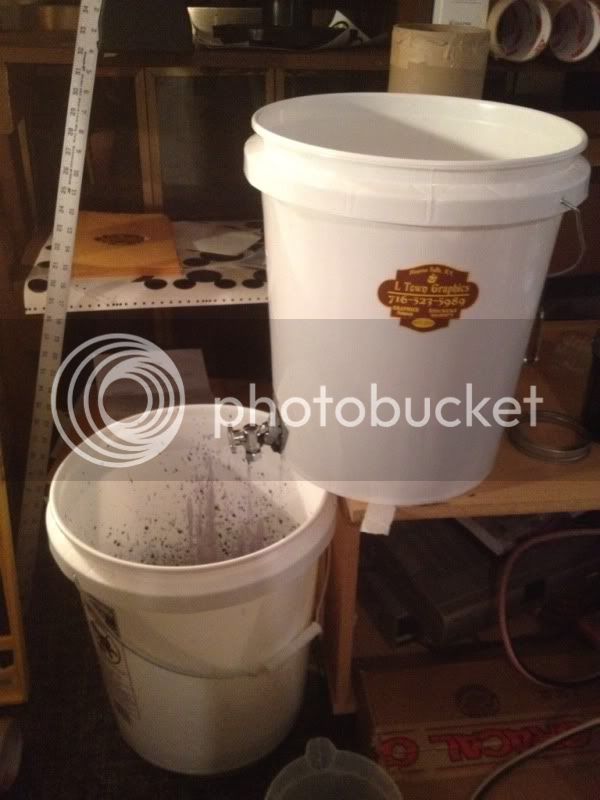
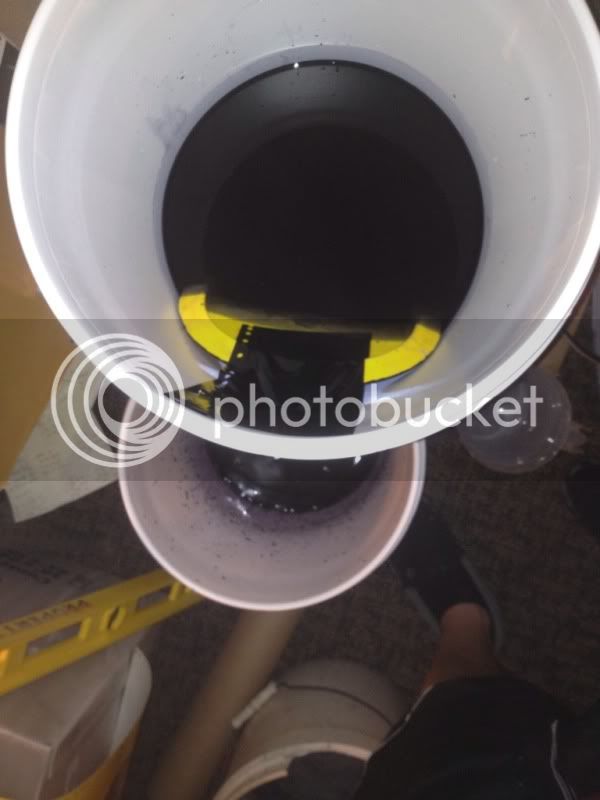
my best have been one slow wash.

and i mean SLOW...3 or 4 hours.

picture.php


that one took 4 hours in one wash.
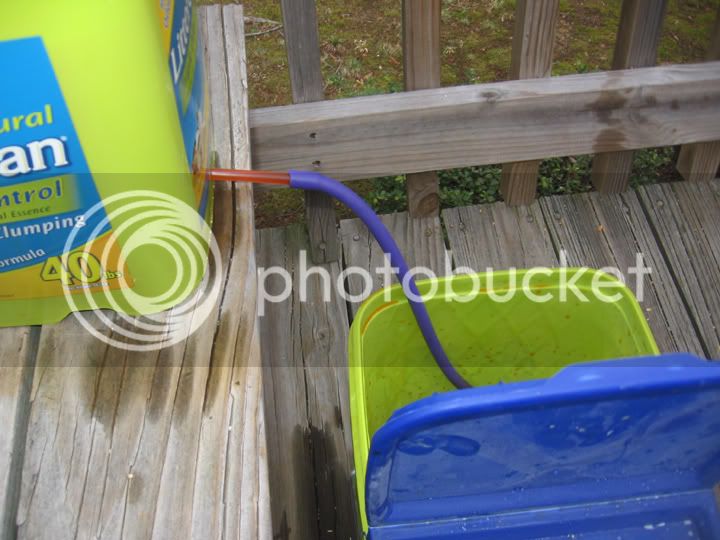
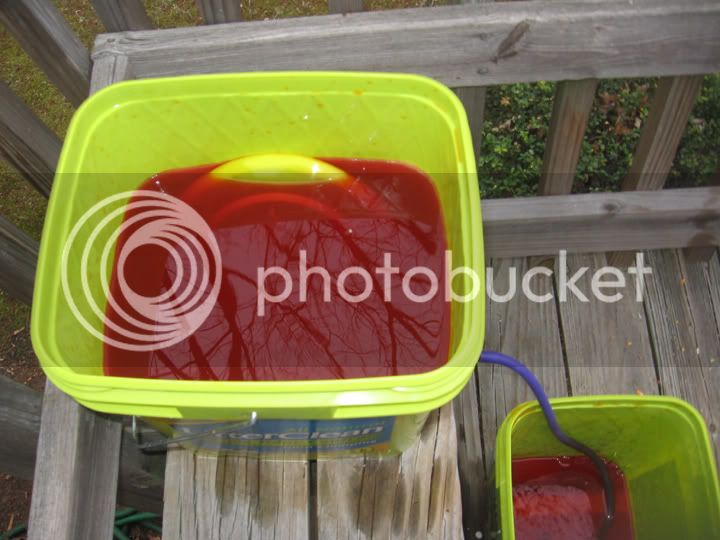
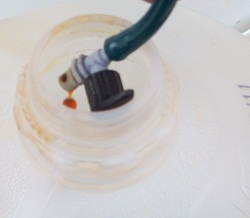
drip.


drip..


drip drip...


you get the point.
 
thats right ya have to play around with it just a bit. some times you have to do it over a couple times.this one was done 3x
 
can someone who's done this show me how to make the disc stand up in the bucket? i know Moon used a coat hanger, but wouldn't that leave the parts where the disc touches the coat hanger un-gradiented?
 
can someone who's done this show me how to make the disc stand up in the bucket? i know Moon used a coat hanger, but wouldn't that leave the parts where the disc touches the coat hanger un-gradiented?

I used a coat hanger as well and was worried about the same thing but you can't see where it was resting on it unless you know to look for it. I tried one with the stamp still on for anyone interested:

comet1.jpg
 
ive had one of 6 or so leave (very subtle) marks on the disc where the hanger met the disc.

i love the recent one posted. very subtle. i bet you get a lot of people grabbing it out of your hands and tripping out at the 'weird plastic blend' youve got your hands on...:D
 
My setup is a crude version of yours (Moon) -- I also used cat litter buckets, the only difference is I did not go out and buy any valve hardware. I used stuff I had laying around: 2 bic pens and some surgical tubing. I drilled a hole slightly smaller than the circumference of the pen barrel in the top bucket and the pen fit very tight, no water leaks and no seal. I then attached the tubing to the first pen and put another pen at the other end with one end sealed. I then made a series of VERY small holes in the bottom pen and taped them all off with electrical tape. I used those holes to control the "drip":

The pens I used:
cimg3482.jpg


Setup:

rig2.jpg


rig.jpg
 
I used to do gradient dyes on my lacrosse stick heads by filling a bucket with dye, lowering the head in and then slowly raising it back out with a fishing rod. I bet something similar would work for discs. Just hang the rim off the hook.
 
ok here's my first disc with my setup
brnco_rsz.jpg

the dark navy blue was a huge fail.. even at 1 packet/gallon it dyed extremely quick. had better luck with the orange.. took 2 dips to get it that shade.
I did get some pretty cool bubbles from the soap on the blue.. I'll be using that in the future somehow..

My setup:
Trash can from goodwill $1.50
valve and tubing from the sprinkler system area of Lowe's $2.06
gradient1_rzd.jpg


valve_rzd.jpg

the valve was from a misting setup, I just removed the yellow end so it wouldn't plug up
 
Here's an idea that may help you guys that do a lot of dyes.

Attach a tube to the outlet that reaches down to the bottom of the lower bucket.

Put another disc in the bottom bucket. you should get the same exact effect with the bottom of the disc being in the dye the longest.

Hope it helps.
 
Here's an idea that may help you guys that do a lot of dyes.

Attach a tube to the outlet that reaches down to the bottom of the lower bucket.

Put another disc in the bottom bucket. you should get the same exact effect with the bottom of the disc being in the dye the longest.

Hope it helps.

Clever...not sure why that never crossed my mind. I could've dyed two at once :doh:
 
Cool. Has this been tried with marbling somehow?

Also, for a radiating dye going the opposite way of the BBQ idea (to make the center darker), you might be able to have a super mega slow drip with the disc flight plate down, if it is domey enough.
 
love coming to these threads and seeing all the cool stuff you guys come up with. Excellent work Moon, you started something new and it's awesome. And sweet discs to everyone that posted.
 
What a great idea... Once i have more hours at work and can afford to dye discs, i'm going for this.
 
not rocket science....

ok so after reading into this a lil more and looking at moons tutorial and pics I decided to give it a shot with a twist.... anyway below are two pics of the setup.
35dd9f6b.jpg

aab86fc4.jpg


i bought a replacement valve at walmart put a hole in the bucket, screwed it in. I know its a little leakey but because of that I never opened the valve. the only thing I would chance is that i would put the top of the disc facing out so i could see the progress as it goes. I do plan on flipping the disc and doing the bottom as well. kinda like a middle gradient. as always feel free to leave me some feedback. I will post a pic of the disc after each half is done.
 
It's so great that this thread was necromanced. I love the innovation here.
 
Top